Showing posts with label Layouts. Show all posts

Saturday, October 16, 2010

Not So Sweet

Hi, A quick post tonight to show a layout recently shown on Scrappy-Go-Lucky. As soon as we saw the new cartridge, "Rock Princess", Tracey and I knew it was perfect to use with these photos. We were on our way to a "Pink 'n Punk" party.


We've used DoubleMates cardstock "Pretty in Pink" and "Heritage". The papers and bling are from Kaiser (as is Tracey's nose stud LOL). To match the green perfectly, the rhinestones are all coloured with Copic Markers. The sweet banner below (and all layers) are cut at 2 1/2".


We wanted to make use of as many of these wild sentiments as possible.


With the exception of "Bad to the Bone" which was cut at 1.5", and "Beautiful but Dangerous" which was cut at 1.7", all sentiments and layers are cut at 1". The pink cuts are all glittered generously with Pink Soda to really make them stand out.


We loved the way these words are "Sugar and Spice" at the same time.


We had a lot of fun creating this layout. Hope you like it.

Till next time,
Luv, Tereesa & Tracey.

Sunday, June 20, 2010

Layout - Turning 5

Hi Everyone, Today I wanted to share with you a double layout done for my daughter's 5th birthday.The theme was Fairy Princesses (of course).


 The first page.....


I have used the gorgeous Kaiser collection “La-Di-Da” for these pages as the bold colours suited my daughter’s party dress perfectly.


This precious sentiment is a rub-on from the Kaiser “Sugar and Spice” set, and is perfect for this layout.


These gorgeous flowers were made using the 2cm paper flowers. I used 7 flowers (one green and 3 in red and white). They were then layered, a hole pierced in the middle, and attached together with a small brad. I then started with the top flower and scrunched it up in the middle. Taking one layer at a time, they were all scrunched around the first, then spread out as much as required. Glitter was added to the edges.


The heading was cut from one of the matching sheets, and the letters were welded together with the Gypsy. It was then heat embossed with clear powder to make it stand out. I also used diamond glitter on the number 5 (as all little girls love their glitter).


Using the matching 6” Paper Pad, I chose coordinating patterns, cut in differing sizes and shapes, to matt the photograph and embellishments.


The second page.


The glittered flowers are cut from a page in the 6” Paper Pad, and the gorgeous tag on this page is one of the punch-outs in the back. (I love these Paper Pads – they are so versatile).


Thought you might also like to see a photo of the cake.

I have another OTP project I am working on - so check back soon for details.

Till next time,
Luv, Tereesa.

Wednesday, June 9, 2010

Layout - In Love

Hi Everyone, Day 3 of our Round the World with CRI-Kits Blog Hop..... I hope you checked out Jane's awesome Disney Layout yesterday, and Diane's Boston Tea Party today for your chance to win a set of the Cri-Kits Gel Pens. And don't forget to check in daily with Scrappy-Go-Lucky for the major prize of the 4 new release cartridges -
Wall Decor & More / Cindy Lou / Freshly Picked / Mini Monsters

Tonight I thought I would show you another layout. I wanted to do something that was simple but elegant to frame and hang on our bedroom wall. The papers I chose are from the Kaiser Gypsy Sisters collection, the colours of which match perfectly with our clothing and bedroom.


This gorgeous cut is from "Tie The Knot". The red heart is a layer that I embossed with the "Kimmy Luvs" cuttlebug folder. I then carefully applied glue to the embossed part and sprinkled with a crimson glitter.


The beautiful piano is from "Summer In Paris" - my favourite cartridge at the moment. The pale lemon layer underneath is the same as the backing sheet, but I inked around the edges with burgandy ink.


The two flourishes are cut from "Stretch Your Imagination" (in differing sizes), and they are topped by beautiful flowers, lace, and a skeleton leaf kindly donated from Tracey's stash (Thank-you Tracey). The wooden flourish is Kaiser which has been inked first with burgandy, then red, then glossy accents applied.


I added just a little paper-piercing, and some pearls in the corners. I have decided to add some of the lovely pearl flourishes that Jane loves using, but haven't yet been able to find any in our local craft stores.


I hope you like it. I will post another photo when it is hanging in its new home.

Don't forget to check out Tracey's blog tomorrow - I am sure it will be amazing.

Till Friday,
Luv, Tereesa.

Layout - First for Josh

Hi Everyone, Isn't this Blog Hop fun. Hope you are all checking in each day with Scrappy-Go-Lucky to pick up the daily clue and the next stop on our "Round The World" trip.

To follow on with Joshua's 16th Birthday recently, I thought this layout summed up this exciting time in his life perfectly (exciting for him - scary for us).


Each letter is cut and shadowed, and highlighted using glossy accents.


Josh loves red, and being a teenage boy, doesn't want anything too fancy. The papers are Kaiser's On The Dot, so I continued with this theme.


Hope you like it.

Till next time,
Luv, Tereesa.

Saturday, April 24, 2010

Sentimentals Layout

Hi Everyone, Only 7 sleeps to go. This time next week I will have just arrived in Perth. I am flying over for the Scrappy-Go-Lucky workshop on Sunday 2 May, and I am really looking forward to spending the weekend with Mandy, and meeting my friend, Linda..
Tonight I thought I would share with you a layout I did using the Sentimentals cartridge (Storybook and George & Basic Shapes are also used). I made this to honour my husband's Grandmother. She was a wonderful lady who inspired many.


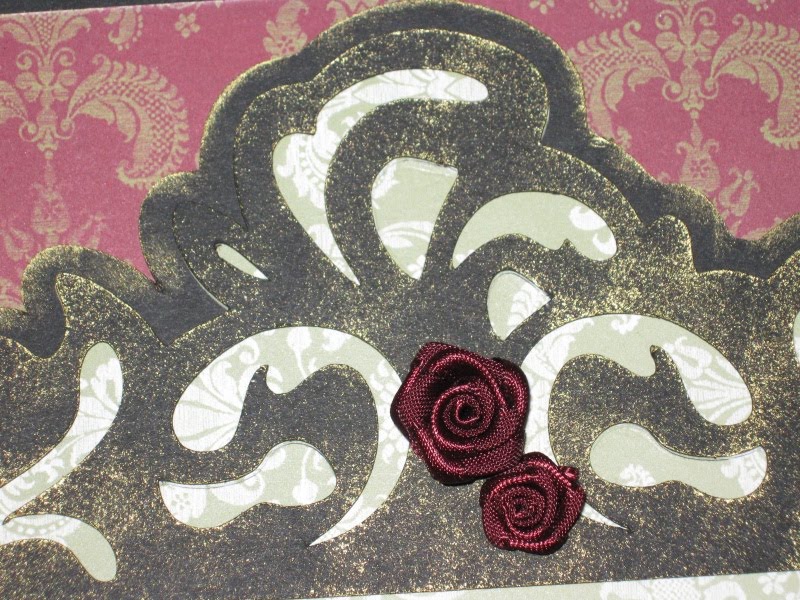
The intricate frame is cut in an olive green with gold accents, with the shadow and layer in black.


As the black looked a little harsh, I inked around the edge in gold on the shadow, and lightly pressed the ink pad on the layer to give an old-fashioned gilded effect.


This beautiful glove is cut from a pearlised cream paper. I cut the layer 4 times and stuck them over each other to give a fine layered effect without using foam dots. A little glitter and pearls to finish off.


This gorgeous ink-pot is cut in burgandy with a black shadow and layer. The beautiful feather quill is cut from white, silver, and black card, with a touch of glitter added.


This lovely sentiment is printed in burgandy on the same cream paper. The shape is from Storybook, and I have inked with a dauber around the edges to soften.


This flower is cut from George & Basic Shapes, using again the same cream paper, and an antique gold. The separate flowers are cut in shadow and silhouette, layered, a touch of glitter added, and finished off with a black and pearl vintage brad.


I finished the layout with some burgandy roses, and some pearls in the corners.

For full instructions, please click here, or contact me.

"Grandmothers are just antique little girls"

I will have a couple of cards from the Sentimentals cartridge to show you soon.

Luv, Tereesa.