Showing posts with label Sentimentals. Show all posts

Sunday, April 25, 2010

Hello Owl Card

Hi - as promised, here are a couple of sweet cards made using the Sentimentals cartridge. This is one of my favourites - a fun and simple design using a mono colour scheme (different shades of one colour with some neutrals added) - and, of course, plenty of glitter.


The "hello" and "heart" are cut out with the scalloped edge (as one cut), allowing the background colour to show through - a fun card design feature on the cartridge.


I love this little guy. The shadow is adhered flat to the card, but the owl and layers are attached with foam dots to add dimension. I have used "chocolate" glitter on the branch (very rich looking), and clear glitter on the flourishes, black rhinestones for his eyes, and a couple of rain dots to finish off.

And..............

Bee Happy Card

The second is another simple design using these gorgeous buzzy bees. I am not usually a "bee" person, but I thought these were really sweet.


All images are cut, layered and shadowed. The hive is embossed with the "Tiny Bubbles" cuttlebug folder.


Isn't this bee cute. I have added Black Opal Kindyglitz on both the hive and bees.


Each image is so gorgeous on its own, it doesn't take much to make it work.

Please contact me if you would like full instructions.
Hope you are all having a wonderful long weekend.
Luv, Tereesa.

Saturday, April 24, 2010

Sentimentals Layout

Hi Everyone, Only 7 sleeps to go. This time next week I will have just arrived in Perth. I am flying over for the Scrappy-Go-Lucky workshop on Sunday 2 May, and I am really looking forward to spending the weekend with Mandy, and meeting my friend, Linda..
Tonight I thought I would share with you a layout I did using the Sentimentals cartridge (Storybook and George & Basic Shapes are also used). I made this to honour my husband's Grandmother. She was a wonderful lady who inspired many.


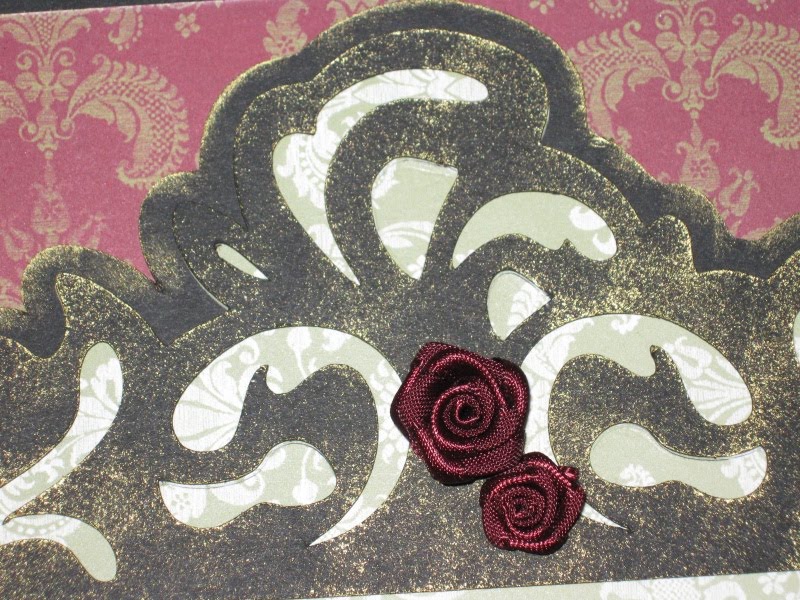
The intricate frame is cut in an olive green with gold accents, with the shadow and layer in black.


As the black looked a little harsh, I inked around the edge in gold on the shadow, and lightly pressed the ink pad on the layer to give an old-fashioned gilded effect.


This beautiful glove is cut from a pearlised cream paper. I cut the layer 4 times and stuck them over each other to give a fine layered effect without using foam dots. A little glitter and pearls to finish off.


This gorgeous ink-pot is cut in burgandy with a black shadow and layer. The beautiful feather quill is cut from white, silver, and black card, with a touch of glitter added.


This lovely sentiment is printed in burgandy on the same cream paper. The shape is from Storybook, and I have inked with a dauber around the edges to soften.


This flower is cut from George & Basic Shapes, using again the same cream paper, and an antique gold. The separate flowers are cut in shadow and silhouette, layered, a touch of glitter added, and finished off with a black and pearl vintage brad.


I finished the layout with some burgandy roses, and some pearls in the corners.

For full instructions, please click here, or contact me.

"Grandmothers are just antique little girls"

I will have a couple of cards from the Sentimentals cartridge to show you soon.

Luv, Tereesa.

Saturday, April 10, 2010

Butterfly Explosion Card

Hi, I wanted to share with you one of my favourite cards. This beautiful butterfly is from the Sentimentals cartridge.

The white layer is embossed using Jules Jewels cuttlebug folder, and the small butterflies have been accentuated using diamond glitter.

Isn't this butterfly cut gorgeous? I watercoloured the background with crayons before cutting, and the top layer is heat embossed with clear powder mixed with glitter. Kaiser rhinestones have been used to finish.

The ribbon is then pulled up - expoding into your message.


Please contact me for full instructions.
This is a very simple, but very effective design.
Enjoy,
Luv, Tereesa.