Showing posts with label Storybook. Show all posts

Thursday, October 28, 2010

Moonlit Mermaid - Fantasy Blog Hop!

Hi Everyone. Welcome to Up Late 2 Create, and Day 5 in the Scrappy-Go-Lucky Blog Hop. Sadly Mandy left last night after her surprise visit which went all too fast. We've had an amazing few days (and late nights), and I can't wait for the next time we get together.

I hope you're all having fun checking out everyone's "Fantasy" creations. Don't forget, each day until 2nd November, Scrappy-Go-Lucky will be giving away one Scrapcessories Cartridge Caddy with one Cartridge Insert. These are ideal for storing your Cricut cartridges, particularly the solutions and seasonal cartridges. The prize will be posted anywhere in Australia - International blog-hoppers are welcome to enter but will need to pay postage costs.

As you are all probably aware, I am totally addicted to my Copics and these Sweet Pea designs, and I enjoyed combining the stamped image with Cricut cuts. Using only the colours "black, white and silver" presented quite a challenge with colouring, but when they were finished, I was quite pleased with the end result. What do you think?


The image used was “Spring Night” by Ching-Chou Kuik, and she was coloured using Copics – C1 / C3 / C5 / C7 / BV23 / BV29 / BV31 / 100 / 0.


To add extra definition to the image, I used black and silver Glaze pens on the tail, and a clear Glaze pen on the moon, the eyes and the water line. I also used a white Glaze pen to define ripples in the lake, and to add dots to the flowers, before sprinkling them with diamond glitter.


The clear Spica glitter pen was used to add a touch of glamour to her eye shadow and to the flowers in her hair (click on the photos to enlarge). The mermaid is then framed in black cardstock. The inner frame is from Storybook sized at 3 ¼” x 2 ¾”, and the outer frame is from George & Basic Shapes sized at 5 ½” x 3 ½” (though it actually didn’t cut at that). I used the Gypsy to line up placement of the frames.


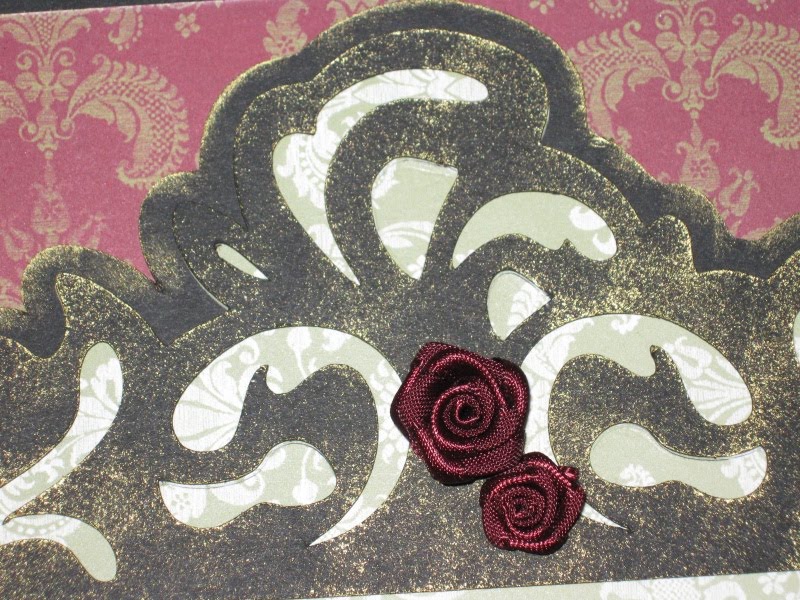
One of the folders from the Cuttlebug Companion set “Art Deco” was used on the left side of the frame. After lining it up in the folder, I placed a rubber shim where I wanted the embossing to stop, then only partially ran it through the cuttlebug machine.

The two willowy reeds were cut from Life’s A Beach – one at 2.3” and one at 2”. These were cut in white, and one coloured with BV23, and one with BV31. I then lightly sponged them with SU shimmer paint in Platinum before adding glitter to the ‘flowers’. These were adhered to a Kaiser silk flower which was also sponged with the Platinum shimmer paint and folded in half.


Some ribbon and a couple of rhinestones were then added to finish.

Make sure you check back in tomorrow as I'll be posting a step-by-step tutorial showing how I coloured the moonlit lake and lily pads.

Now for the important info - to enter to win one of the Scrapcessories Cartridge Caddies, all you need to do is leave a comment on THIS post. One winner will be drawn for each day's major posting. All winners will be drawn at random on Tuesday 2 November.

Head back to Scrappy-Go-Lucky tomorrow to see where to go next.

Good Luck!
Tereesa.

Sunday, August 1, 2010

First Cricut Class

Hi, The first of our monthly Cricut Classes kicked off today with a Basics Class aimed at those just beginning their Cricut journey. Below is a peak at the cards we made using the George & Basic Shapes, and Storybook cartridges.


These heart cards were fun to make - they are two separate hearts that are joined and spin with a brad.


I thought these two were really cute with a sparkling sky in the background.


Thank you to all the ladies who attended - with your eagerness and laughter, it was a fun afternoon. We are sure you now have the confidence to plan and create some wonderful pieces.


I would like to say a huge thanks to Shelley whose hard work and dedication helped made the afternoon such a success. I look forward to many future classes with my "partner in Cricut (crime)". I must also thank the star-assistant of the day - Alyssa - whose help was invaluable. And a special thanks to Mandy and Scrappy-Go-Lucky who supplied the girls with some discount vouchers for Cricut products. I'm sure they will make good use of them.

Dates will be posted soon for the next class - so stay tuned.

I'll be back tomorrow with some recent DT projects for Scrappy-Go-Lucky using Freshly Picked.

Till then,
Luv, Tereesa.

Saturday, April 24, 2010

Sentimentals Layout

Hi Everyone, Only 7 sleeps to go. This time next week I will have just arrived in Perth. I am flying over for the Scrappy-Go-Lucky workshop on Sunday 2 May, and I am really looking forward to spending the weekend with Mandy, and meeting my friend, Linda..
Tonight I thought I would share with you a layout I did using the Sentimentals cartridge (Storybook and George & Basic Shapes are also used). I made this to honour my husband's Grandmother. She was a wonderful lady who inspired many.


The intricate frame is cut in an olive green with gold accents, with the shadow and layer in black.


As the black looked a little harsh, I inked around the edge in gold on the shadow, and lightly pressed the ink pad on the layer to give an old-fashioned gilded effect.


This beautiful glove is cut from a pearlised cream paper. I cut the layer 4 times and stuck them over each other to give a fine layered effect without using foam dots. A little glitter and pearls to finish off.


This gorgeous ink-pot is cut in burgandy with a black shadow and layer. The beautiful feather quill is cut from white, silver, and black card, with a touch of glitter added.


This lovely sentiment is printed in burgandy on the same cream paper. The shape is from Storybook, and I have inked with a dauber around the edges to soften.


This flower is cut from George & Basic Shapes, using again the same cream paper, and an antique gold. The separate flowers are cut in shadow and silhouette, layered, a touch of glitter added, and finished off with a black and pearl vintage brad.


I finished the layout with some burgandy roses, and some pearls in the corners.

For full instructions, please click here, or contact me.

"Grandmothers are just antique little girls"

I will have a couple of cards from the Sentimentals cartridge to show you soon.

Luv, Tereesa.

Monday, April 19, 2010

Together Forever Card

Hi Everyone, Today I thought I would show you a variation of a card I made for the Lovestruck Dinner For 2. By changing the colours and a couple of other elements, the same design is now a romantic wedding card.


The tag shapes are cut from the "Storybook" cartridge, and then embossed with the "Textile" cuttlebug folder.


The hearts are cut in silhouette from "George & Basic Shapes", embossed with clear powder and sprinkled with glitter while still wet. The side strip is embossed with "Swiss Dots".


The card is then finished off with ribbons and pearls.

My 3 wonderful children all made it into Districts for Cross-Country this week, so I have a busy few days ahead cheering them on. Wish them luck!

Luv, Tereesa.


Friday, April 16, 2010

Lovestruck Dinner for 2!

Hi, I know it is well past Valentine's Day,  but as there are a few Anniversaries being celebrated in my family, I thought I would show this romantic table-setting I designed for Scrappy-Go-Lucky.


I used clear glass plates over these placemats so the intricate design could be seen underneath.


Serviette Rings -


This beautiful silhouette was cut and adhered to the side of the candle.


A "Gift Box for Her". The heart in the cutout is the same as for the placemats, but it was drawn on acetate using the Cricut Ink Markers, then fixed to the inside of the box.


Pretty in Pink Mailbox - isn't it just too cute!!


A "Love You" card for him - romance isn't just for the ladies.


I finished the table setting with a bouquet of deep red roses.


Please contact me for full instructions and if you would like the Gypsy files.

Happy Anniversary! - You know who you are.

Have a great day,
Luv, Tereesa.